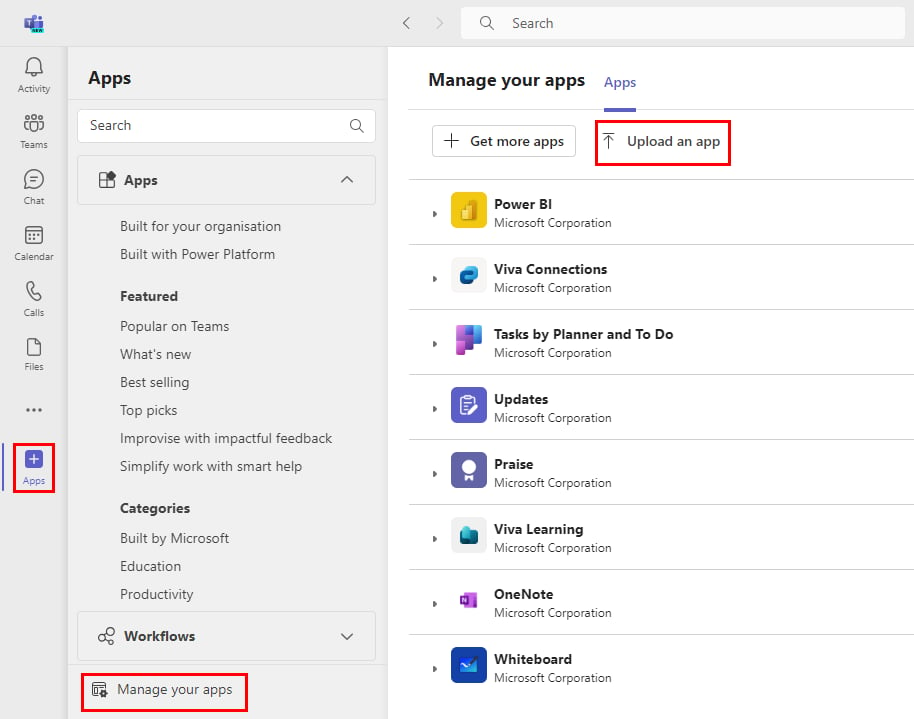
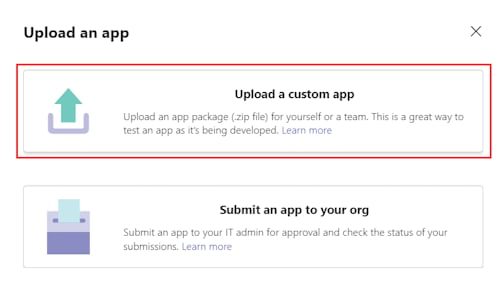
Upload the app package as a custom app or publish it to your organization, register your agent in StandIn, and place the first call.
Part 3 of the Teams setup. You have the app package -
now put it in front of Teams users. Pick the route that matches how widely the bot should be
available.
Best when you want validation and versioning. Go to
dev.teams.microsoft.com → Apps → Import app and upload
the zip (or New app and paste the manifest fields in the GUI). The portal validates the
manifest, hosts the icons, and can then Preview in Teams, Download the finished
package, or Publish → Publish to your org.Official reference: Teams Developer Portal.
Best for making the bot callable by everyone in your tenant. Either publish from the
Developer Portal (Publish → Publish to your org) or have an admin upload the zip directly
in the Teams admin center (Teams apps → Manage apps → Upload new app). A Teams admin
approves the pending app before it appears for users.Official reference: Publish a custom app to your organization.
In your StandIn dashboard, register your Agent calling URL and the matching HMAC secret
(done automatically if you used pairing).
If you also want Teams chat, set the optional Agent chat URL
(https://<your-public-host>/api/messages; leave it empty if you only use voice).
Search for the app in Teams (or open it under Apps → Built for your org after an org publish),
then call the bot. StandIn answers, connects to your bridge, and your agent speaks.
First chat message ignored? Using OpenClaw, its chat channel drops direct messages from
senders you have not approved (dmPolicy: pairing, the default) - approve yourself with
openclaw pairing approve msteams <CODE>. Using Hermes, an unknown sender gets a
pairing-code reply instead of an answer - approve it with hermes pairing approve teams <CODE>
(with TEAMS_ALLOWED_USERS set, unlisted senders are dropped silently instead). Details:
the bot ignores Teams chat.